Image Source: Google
When disaster strikes and your roof is damaged, quick action is essential to prevent further destruction to your home. One effective way to protect your property from leaks and further damage is by installing a roof tarp. Roof tarps provide a temporary waterproof covering until permanent repairs can be made. In this ultimate guide, we will walk you through the steps of installing a roof tarp to safeguard your home.
1. Assess the Damage
Determine the Severity of the Damage
- Inspect your roof for any visible damage, such as missing shingles, holes, or sagging areas.
- Check for leaks inside your home that may indicate roof damage.
- Assess the size of the damaged area to determine the amount of tarp you will need.
Consider Safety Precautions
- Only attempt to install a roof tarp if it is safe to do so. If the damage is extensive or poses a risk, contact a professional roofer.
- Use appropriate safety equipment, such as a harness, gloves, and sturdy footwear, when working on your roof.
2. Gather the Necessary Materials
Materials Needed for Roof-Tarp Installation
- Tarp (heavy-duty plastic or canvas material)
- Rope or bungee cords
- Roofing nails
- Hammer
- Utility knife
- Ladder
- Tarp clips (optional)
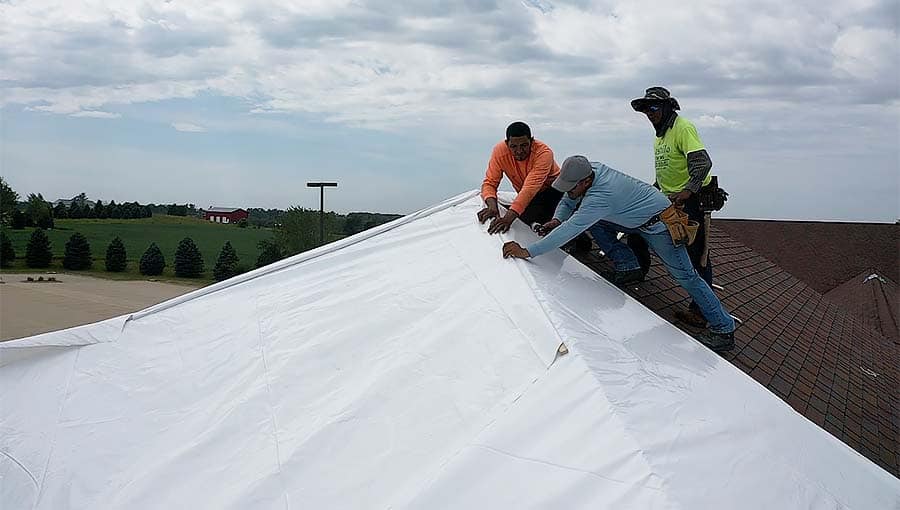
3. Secure the Tarp to Your Roof
Steps to Install a Roof Tarp
- Cut the tarp to the appropriate size, allowing for some overlap on all sides of the damaged area.
- Position the tarp over the damaged section of your roof, ensuring it covers the entire area and extends beyond the edges.
- Secure the tarp in place by using roofing nails to anchor it to the roof deck. Space the nails approximately 6 inches apart along the edges of the tarp.
- If needed, reinforce the tarp by tying ropes or bungee cords around the perimeter and securing them to stable anchor points on your roof.
- Trim any excess tarp material using a utility knife to prevent it from flapping in the wind.
- For added security, use tarp clips to attach the tarp to your roof's shingles or gutters.
4. Monitor and Maintain the Tarp
Check the Tarp Regularly
- Inspect the tarp periodically to ensure it remains securely in place and intact.
- Look for any signs of damage, such as tears or holes, and make repairs as needed.
- Remove debris, such as leaves or branches, that may collect on the tarp and cause damage over time.
Plan for Permanent Repairs
- While a roof tarp provides temporary protection, it is important to arrange for permanent repairs as soon as possible.
- Contact a professional roofer to assess the damage and recommend the necessary repairs to restore the integrity of your roof.
- Do not attempt to make permanent repairs yourself unless you have the expertise and experience to do so safely.
5. Conclusion
Installing a roof tarp is a crucial step in protecting your home from further damage when your roof is compromised. By following the steps outlined in this ultimate guide, you can effectively safeguard your property until permanent repairs can be made. Remember to prioritize safety at all times and seek professional assistance if needed.