Image Source: Google
When it comes to foundation work, screw piers have revolutionized the industry with their efficiency, durability, and ease of installation. Whether you're a contractor looking to expand your knowledge or a homeowner planning a DIY project, this ultimate guide to screw pier installation will provide you with all the information you need to get started.
Section 1: Understanding Screw Piers
What are Screw Piers?
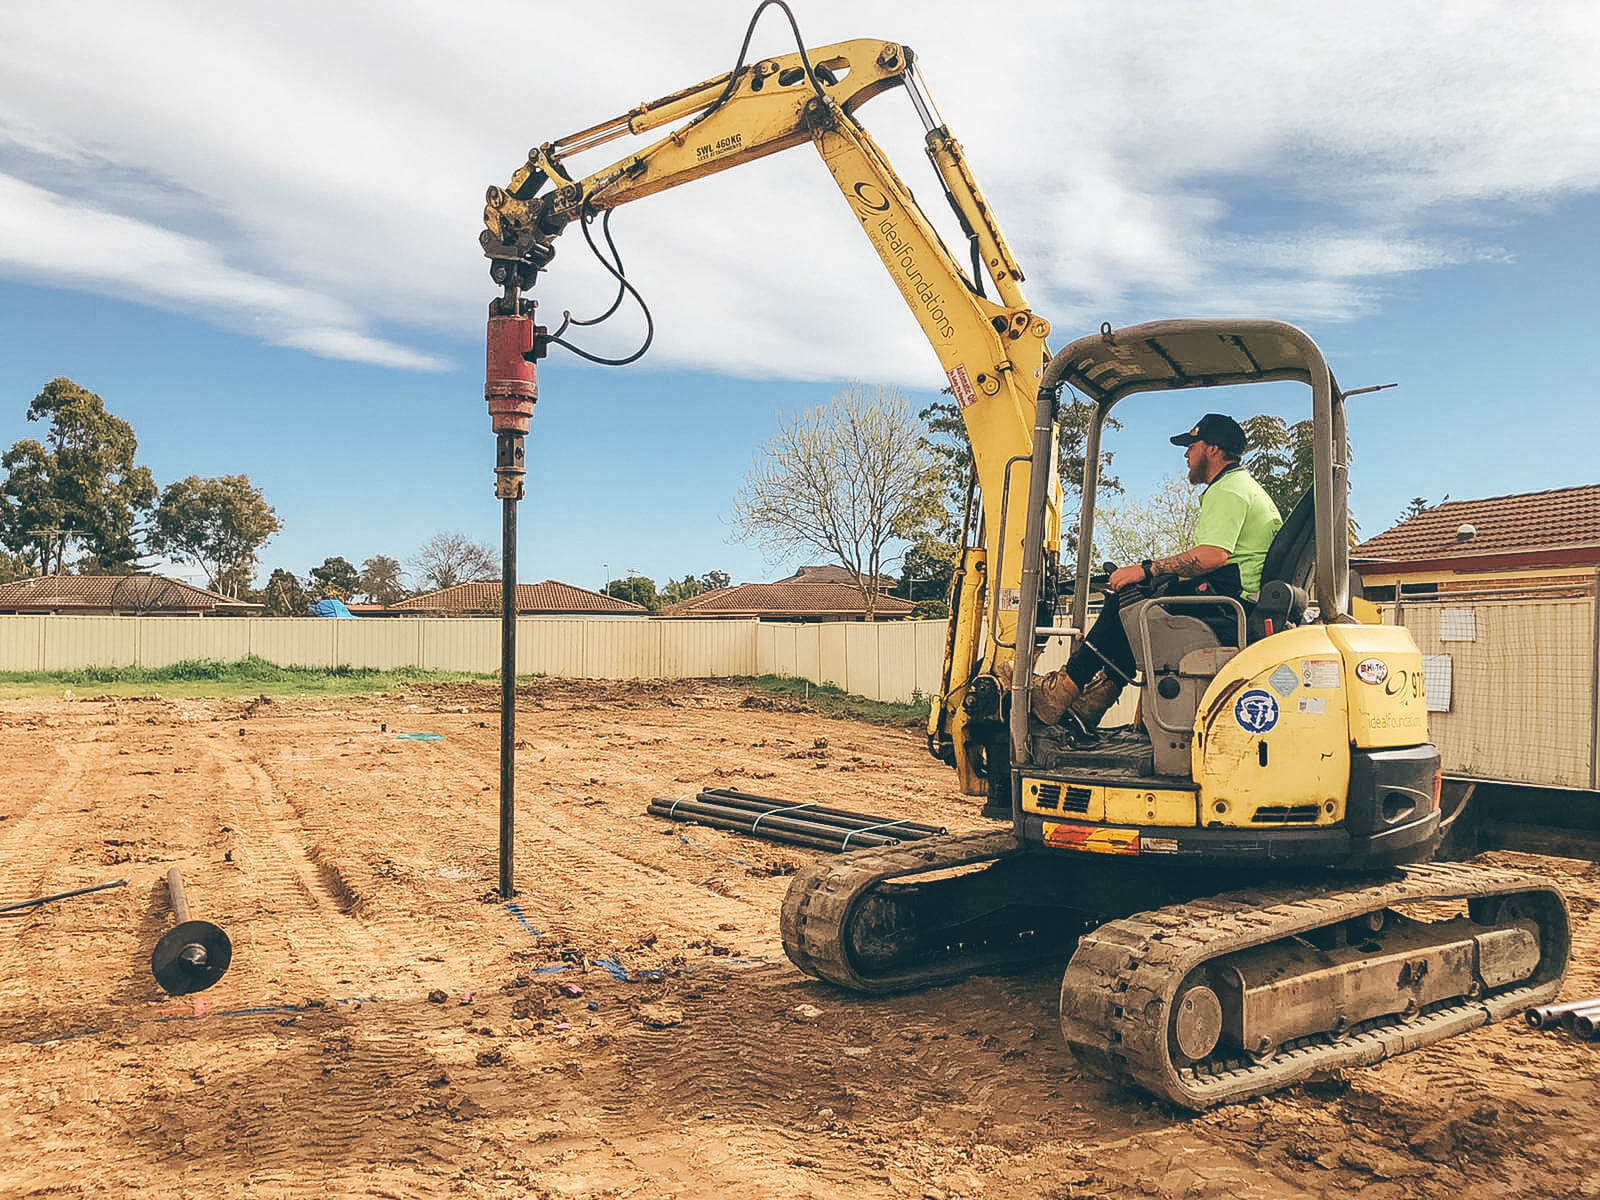
- Screw piers, also known as helical piers or helical screws, are a type of foundation system that is used to support buildings and other structures. If you need more information about screw pier installation, you may visit here https://www.mrnexcavations.com.au/screw-piers-sydney
- They consist of a steel shaft with helical flights that resemble a large screw.
- The piers are installed into the ground by twisting them into the soil, providing a stable foundation for the structure above.
Benefits of Screw Piers
- Quick and easy installation process.
- Minimal site disturbance compared to traditional foundation methods.
- Can be installed in tight spaces or areas with limited access.
- High load-bearing capacity suitable for both residential and commercial applications.
- Cost-effective alternative to concrete foundations.
Section 2: Pre-Installation Preparation
Site Evaluation
- Perform a thorough site evaluation to determine soil conditions, load requirements, and pier placement.
- Consider hiring a geotechnical engineer to assess the soil and provide recommendations for pier installation.
Permitting and Regulations
- Check local building codes and regulations to ensure compliance with permit requirements for foundation work.
- Obtain necessary permits before starting the installation process.
Section 3: Installation Process
Equipment and Tools
- Excavator or mini-skid steer for digging the pier holes.
- Helical pile driver or hydraulic torque motor for twisting the piers into the ground.
- Leveling tools to ensure the piers are installed at the correct depth and angle.
Steps for Installation
- Excavate the pier holes to the specified depth and diameter based on the project requirements.
- Attach the helical flights to the steel shaft of the piers using a coupling plate.
- Twist the piers into the soil using the pile driver or torque motor until the specified torque resistance is reached.
- Verify the alignment and depth of the piers using leveling tools.
- Fill the excavated holes with grout or concrete to secure the piers in place.
Section 4: Post-Installation Inspection
Load Testing
- Perform a load test to ensure the screw piers can support the required weight of the structure.
- Consult with a structural engineer to determine the appropriate load testing procedure for your specific project.
Final Checks
- Inspect the piers for any signs of movement, settling, or damage after installation.
- Address any issues immediately to prevent future foundation problems.
Section 5: Maintenance and Care
Regular Inspections
- Schedule routine inspections of the screw piers to check for any signs of corrosion, rust, or structural damage.
- Address any maintenance issues promptly to ensure the longevity of the foundation system.
Professional Assistance
- Consult with a foundation specialist if you notice any issues with the screw piers or the structure they support.
- Seek professional help for any repairs or modifications to the foundation system.
With this ultimate guide to screw pier installation, you can confidently tackle your next foundation project with precision and expertise. Remember to follow the proper steps for pre-installation preparation, thorough installation process, post-installation inspection, and ongoing maintenance to ensure the longevity and stability of your structure.