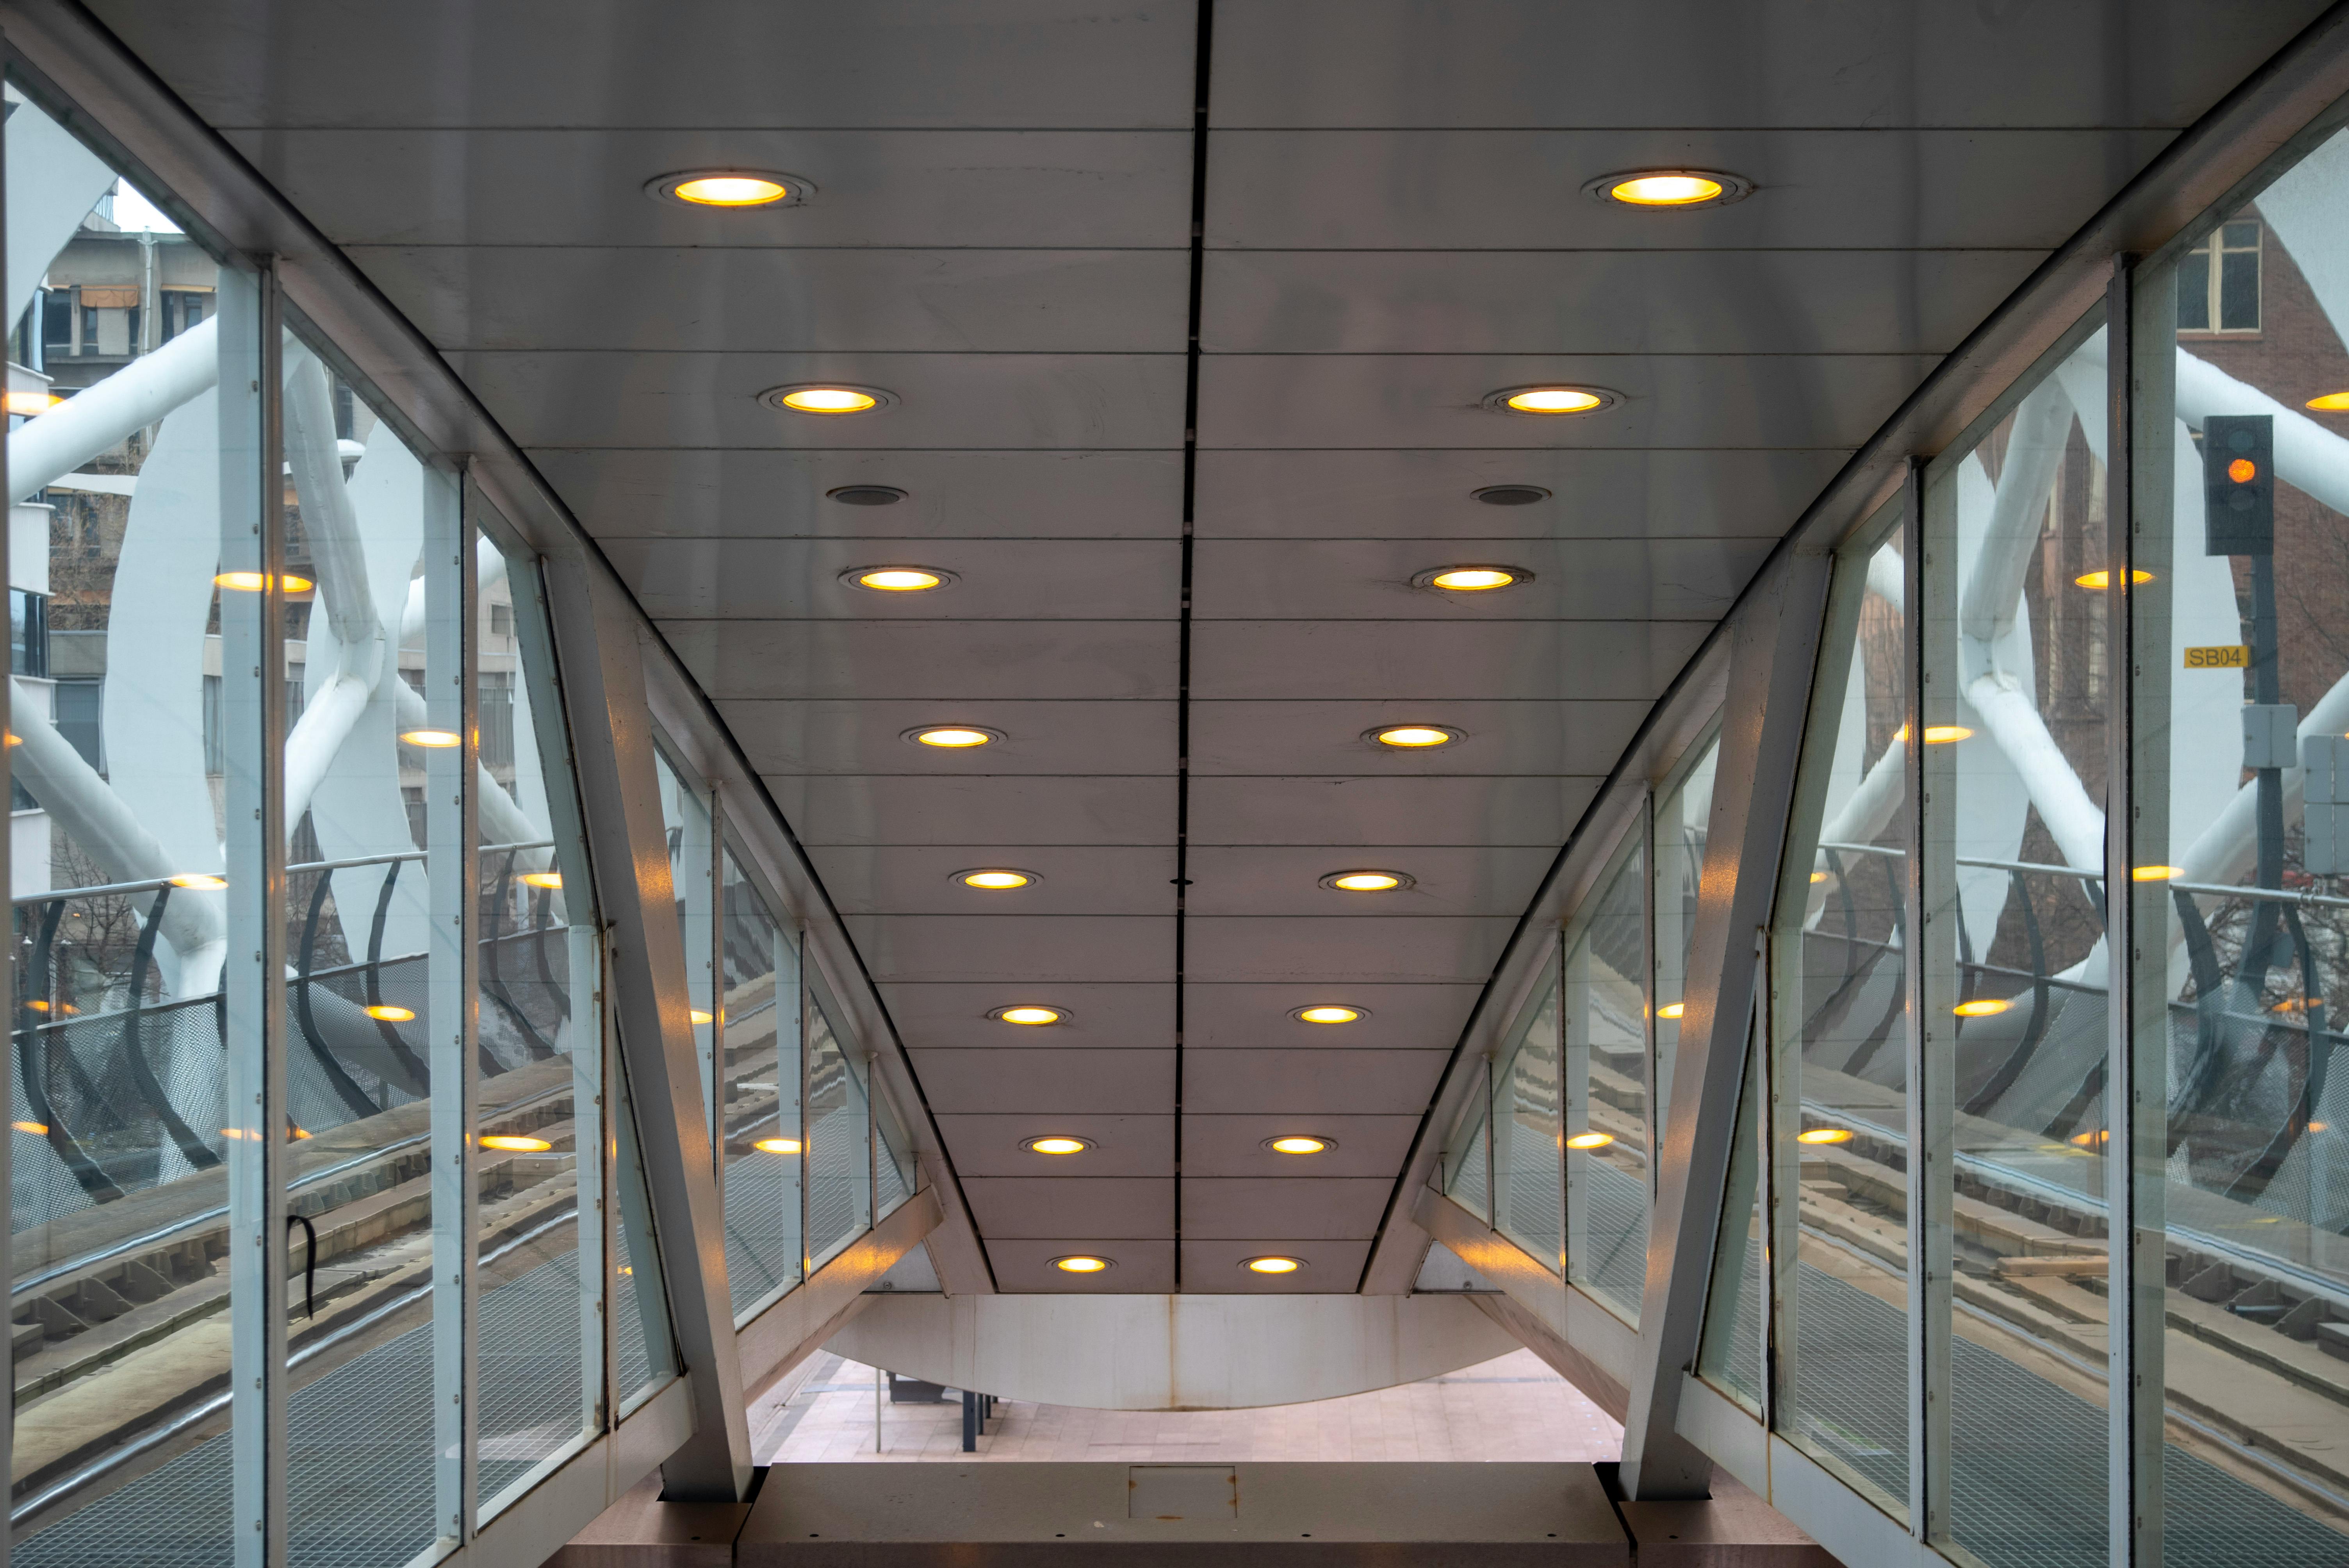
LED downlights have become a popular choice for both residential and commercial lighting due to their energy efficiency, longevity, and sleek design. Installing LED downlights can significantly enhance the aesthetic appeal and functionality of any space. However, to achieve optimal results, it is essential to follow a precise installation process. This step-by-step guide will walk you through the process of installing LED downlights, ensuring a safe and effective outcome.
Essential Tools and Materials
Before beginning the installation, gather the necessary tools and materials. Having everything on hand will streamline the process and help avoid any interruptions. Here is a list of essentials:
- LED downlights
- Drill and appropriate drill bits
- Measuring tape
- Voltage tester
- Cable connectors
- Wire stripper
- Screwdrivers
- Protective gear (gloves, safety goggles)
Step 1: Planning and Preparation
Determine the Layout
Start by determining the layout of the LED downlights. Consider the function of the space and the areas that require more illumination. It is advisable to maintain a uniform distribution for even lighting.
Check the Ceiling Type
Identify the type of ceiling material (e.g., plasterboard, concrete) as this will influence the installation method. Ensure that the ceiling can accommodate the downlights and that there is sufficient clearance above the ceiling.
Turn Off the Power
Safety is paramount. Before proceeding with the installation, turn off the power to the area where the lights will be installed. Use a voltage tester to confirm that there is no live current in the wires.
Step 2: Cutting the Holes
Once the layout is planned, mark the positions on the ceiling where the downlights will be installed. Use a template or the downlight?s housing to draw precise circles. Ensure the holes are properly aligned with the electrical wiring.
Drilling the Holes
- Use a suitable drill bit to cut out the marked circles.
- Drill slowly to avoid damaging the ceiling material.
- Remove the cut-out material carefully to ensure a clean edge.
Step 3: Wiring the Downlights
With the holes prepared, the next step involves connecting the downlights to the electrical circuit. Pay attention to local electrical codes and regulations during this process.
Connecting the Wires
- Strip the insulation from the ends of the wires using a wire stripper.
- Connect the downlight wires to the electrical wires using cable connectors. Ensure the connections are secure and insulated.
- If necessary, refer to the manufacturer?s instructions for specific wiring configurations.
Step 4: Installing the Downlights
With the wiring complete, proceed to install the downlights into their respective positions.
Inserting the Downlights
- Gently insert the downlight into the cut-out hole. Ensure it fits snugly without forcing it into place.
- Most downlights come with spring clips that help secure them in position. Compress the clips and push the downlight into the hole until it is flush with the ceiling.
- Once installed, test the LED downlights installation by turning the power back on and ensuring they function correctly.
Final Thoughts
Installing LED downlights can be a straightforward process when approached with careful planning and attention to detail. By following this guide, the installation should be both safe and efficient. For those unsure about any part of the process, consulting with a professional electrician is always recommended to ensure compliance with electrical standards and safety regulations. Proper installation not only enhances the lighting quality but also contributes to the overall comfort and aesthetic of the space.